Prerequisites
- A customer-hosted SFTP server that is reachable from TechWolf’s egress IP
addresses.
TechWolf’s egress IP addresses are available on request from your TechWolf contact.
- Admin access to install an SSH public key on the SFTP server (or, for legacy servers, a service-account password).
- The remote folder path(s) that TechWolf should pull files from.
Steps
1
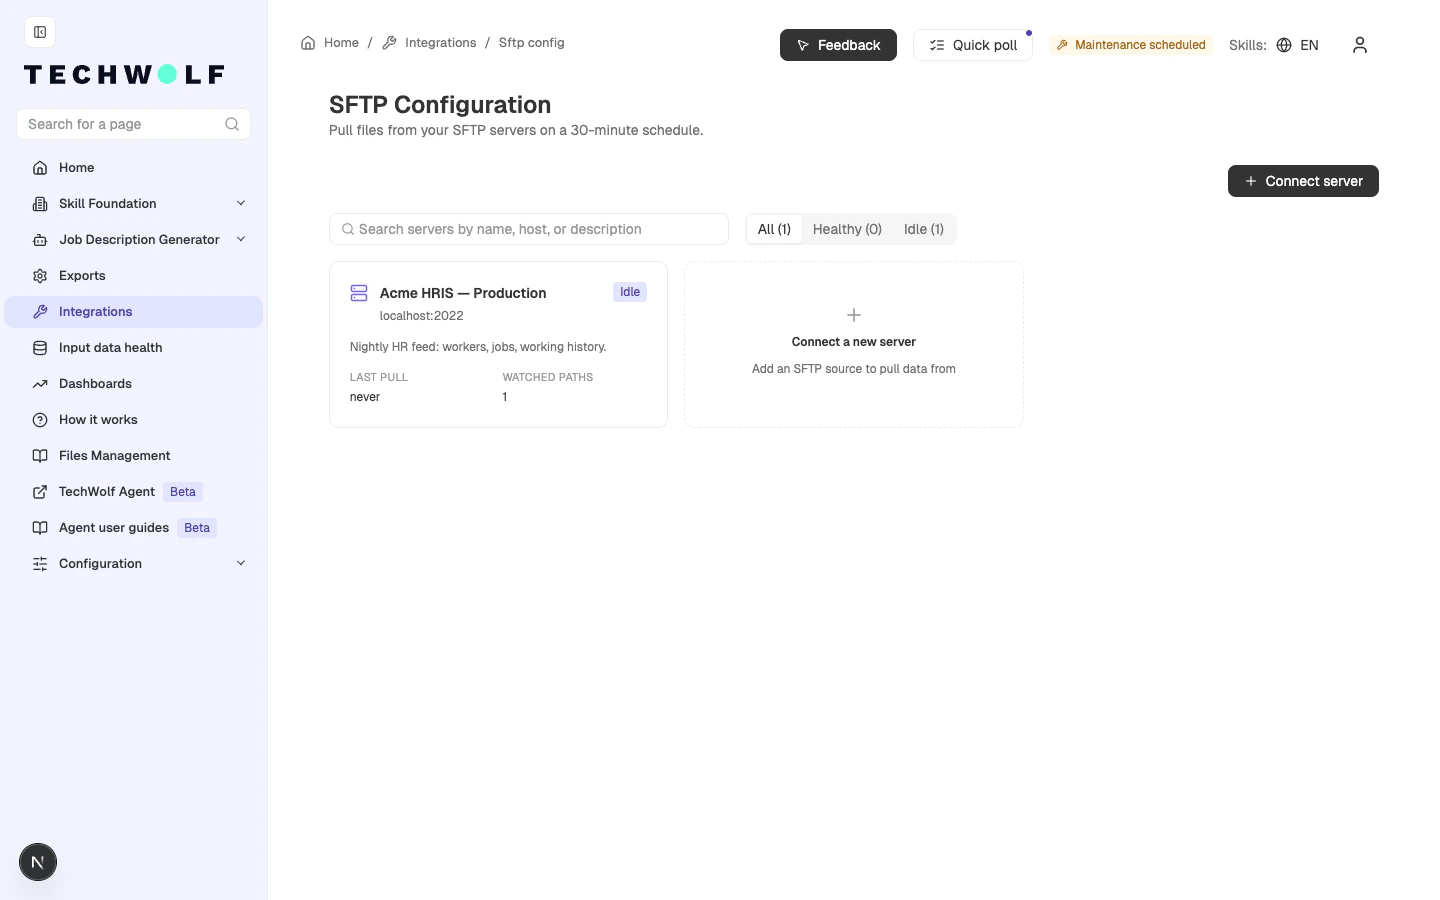
Open the SFTP Configuration page
In the Console, go to Integrations → SFTP Configuration
(
/integrations/sftp-config).2
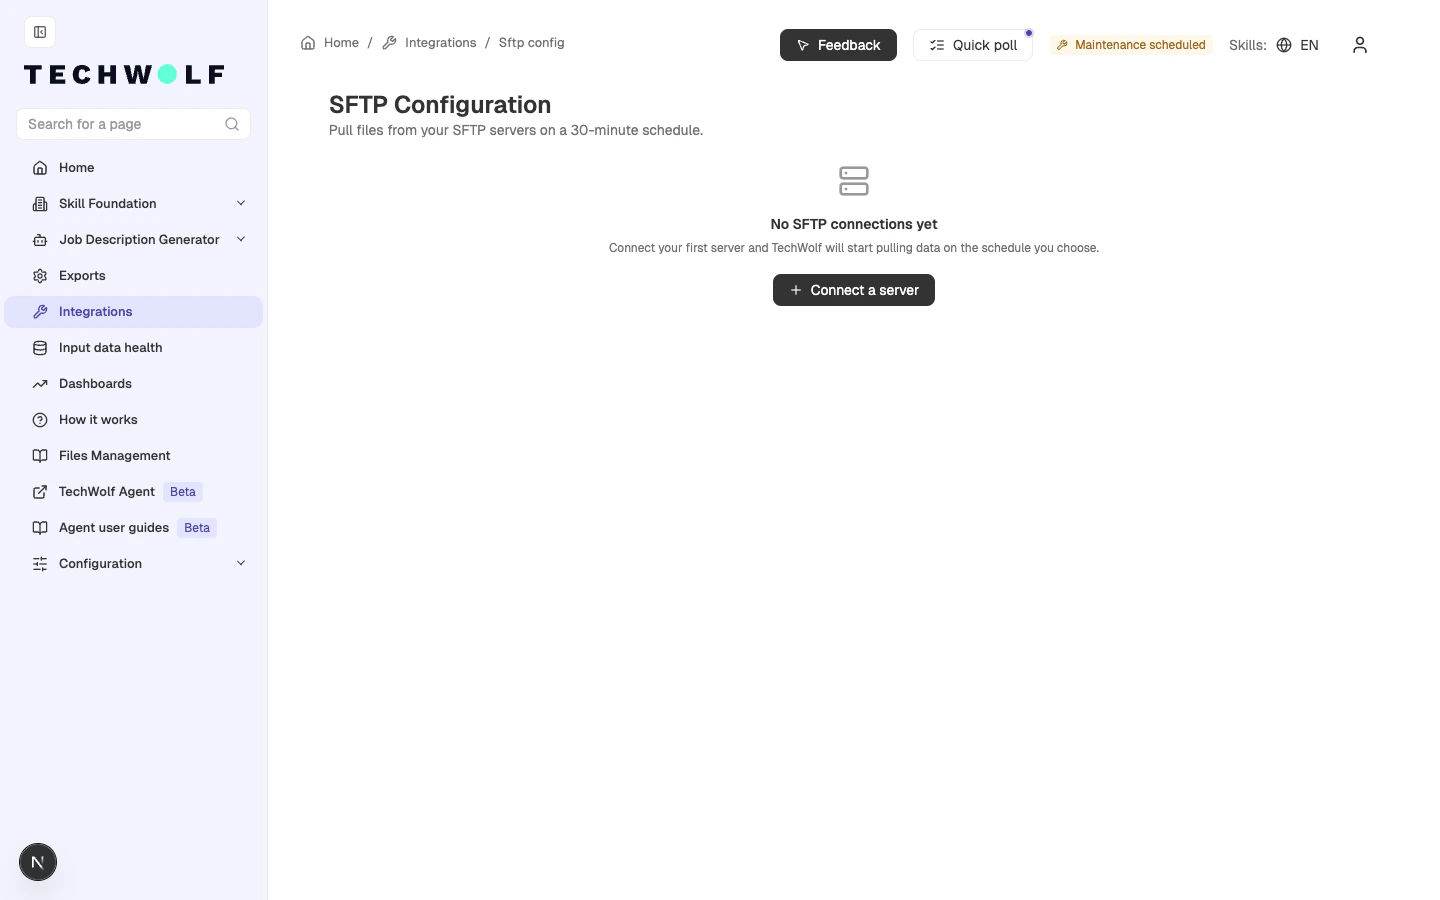
Start a new connection
Click Connect a server. A drawer opens on the Setup tab.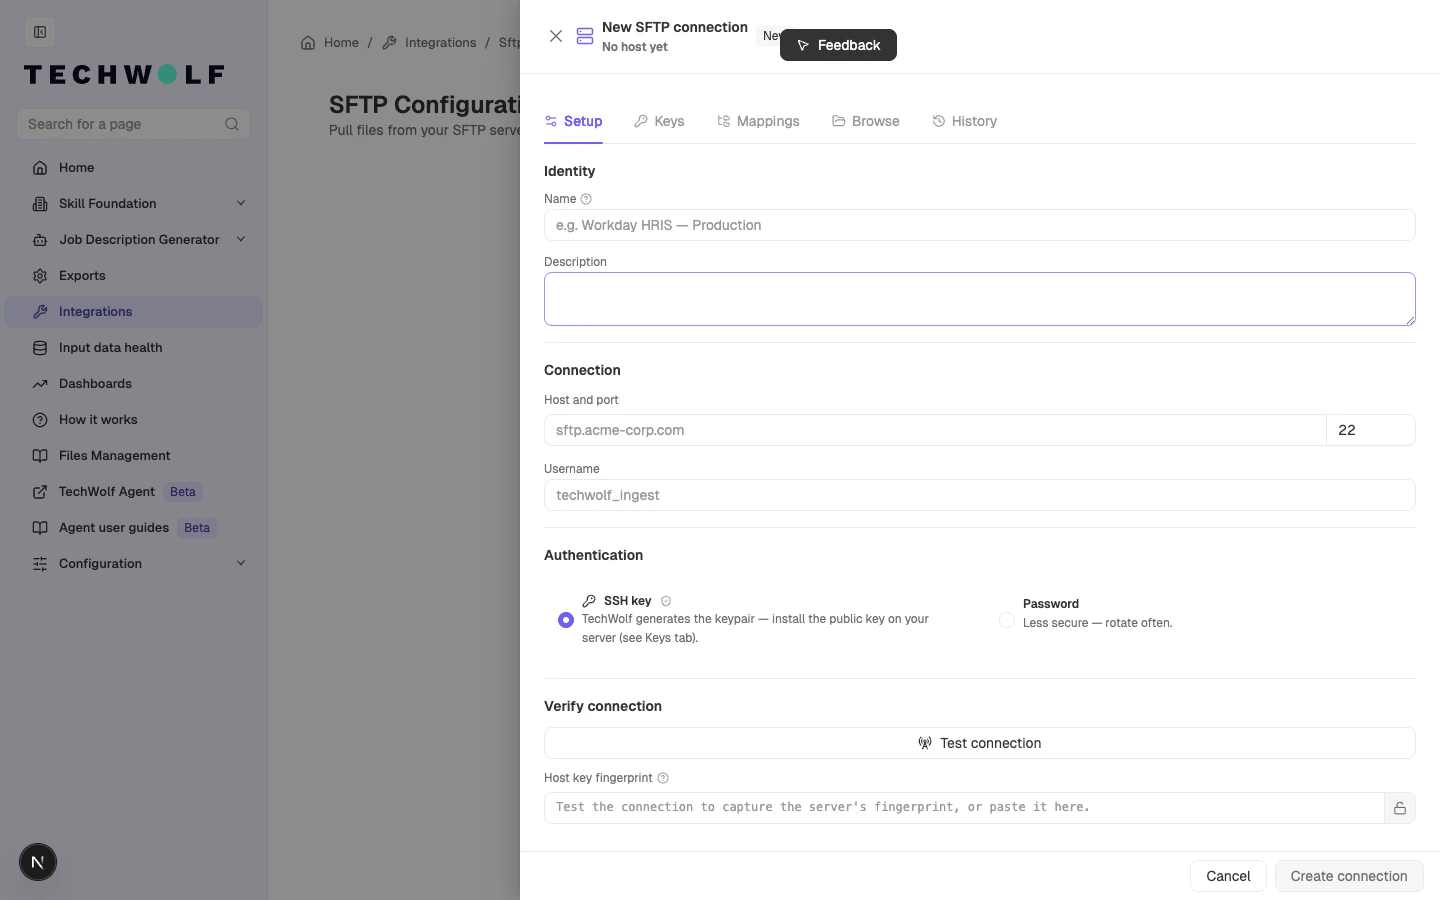
3
Fill in identity and connection
Provide a Name, an optional Description, the Host and
Port (default 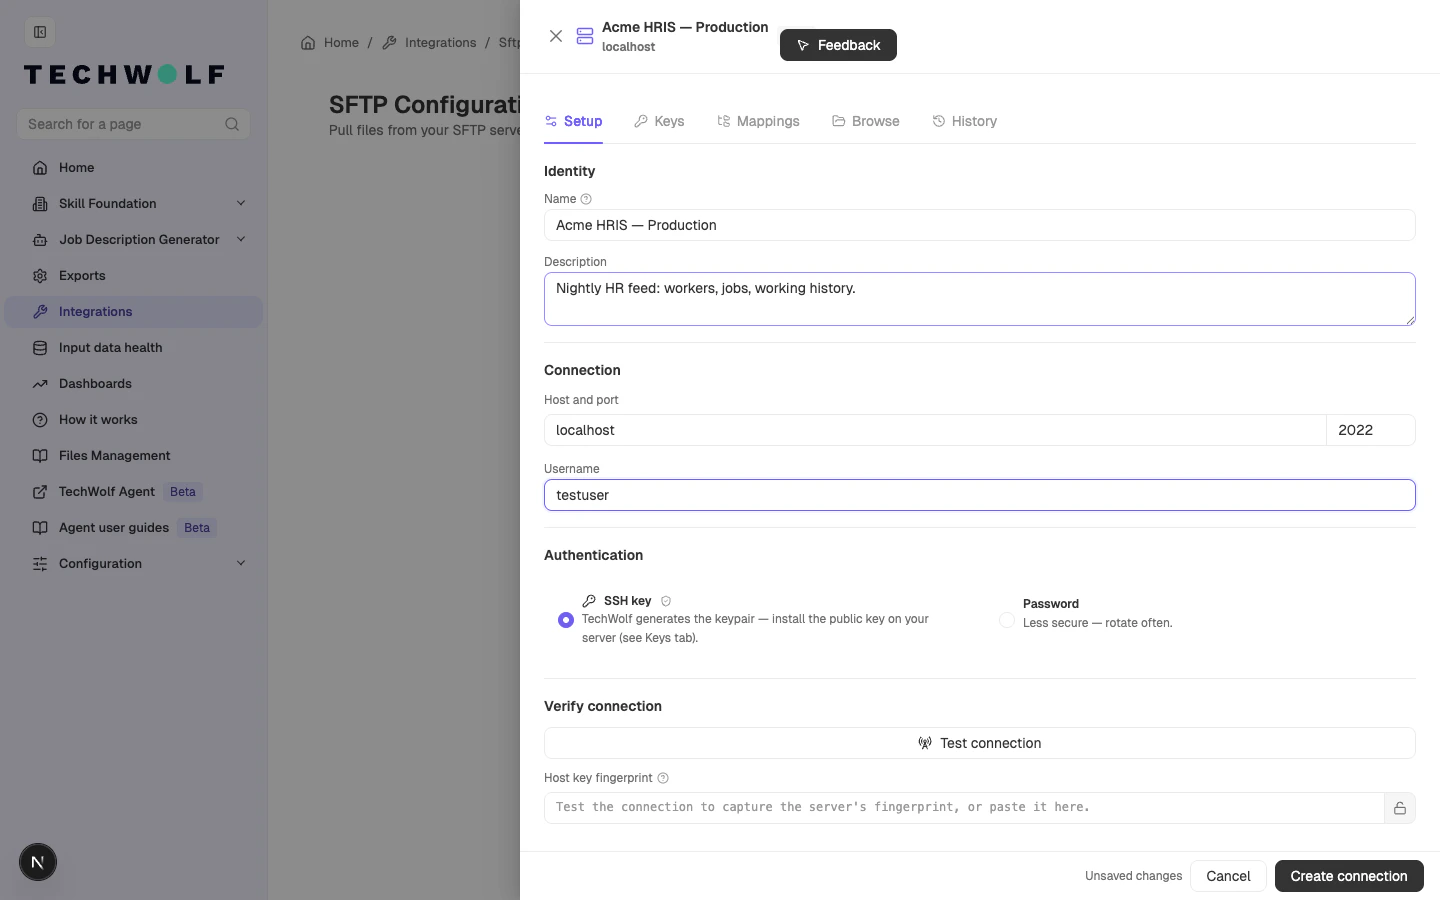
22), and the SFTP Username that TechWolf will
log in as.4
Choose authentication
Select SSH key (strongly recommended). TechWolf generates the
keypair on the Keys tab. The private key never leaves TechWolf.
See How SFTP works: keys for the
keypair model.
5
Create the connection
Click Create connection. The drawer flips to the Keys tab.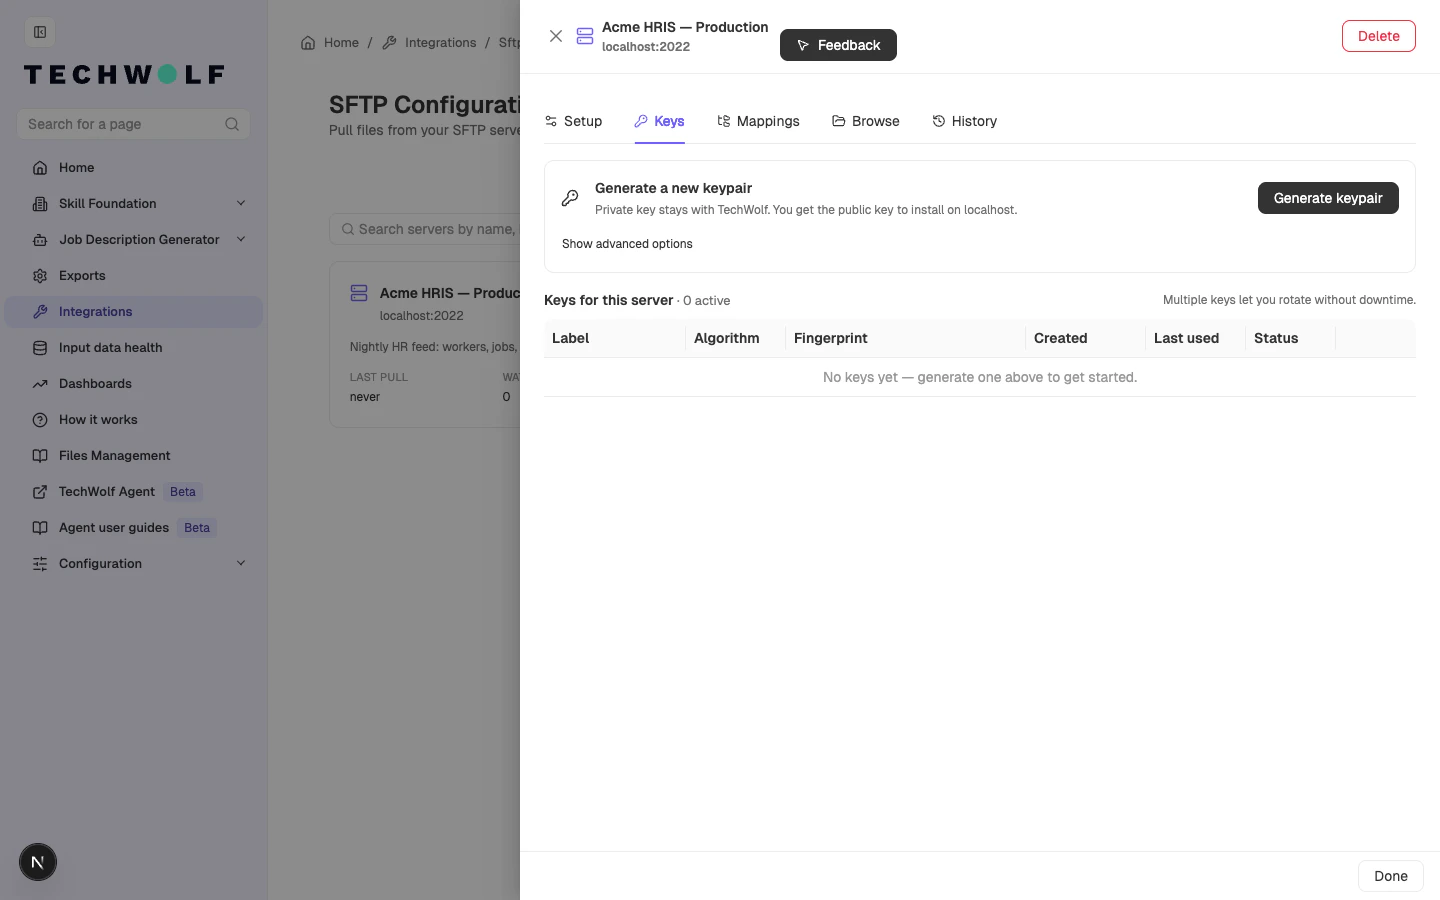
6
Generate a keypair and install the public key
Click Generate keypair. The public key is revealed once: copy it
or click Download. Install it in the 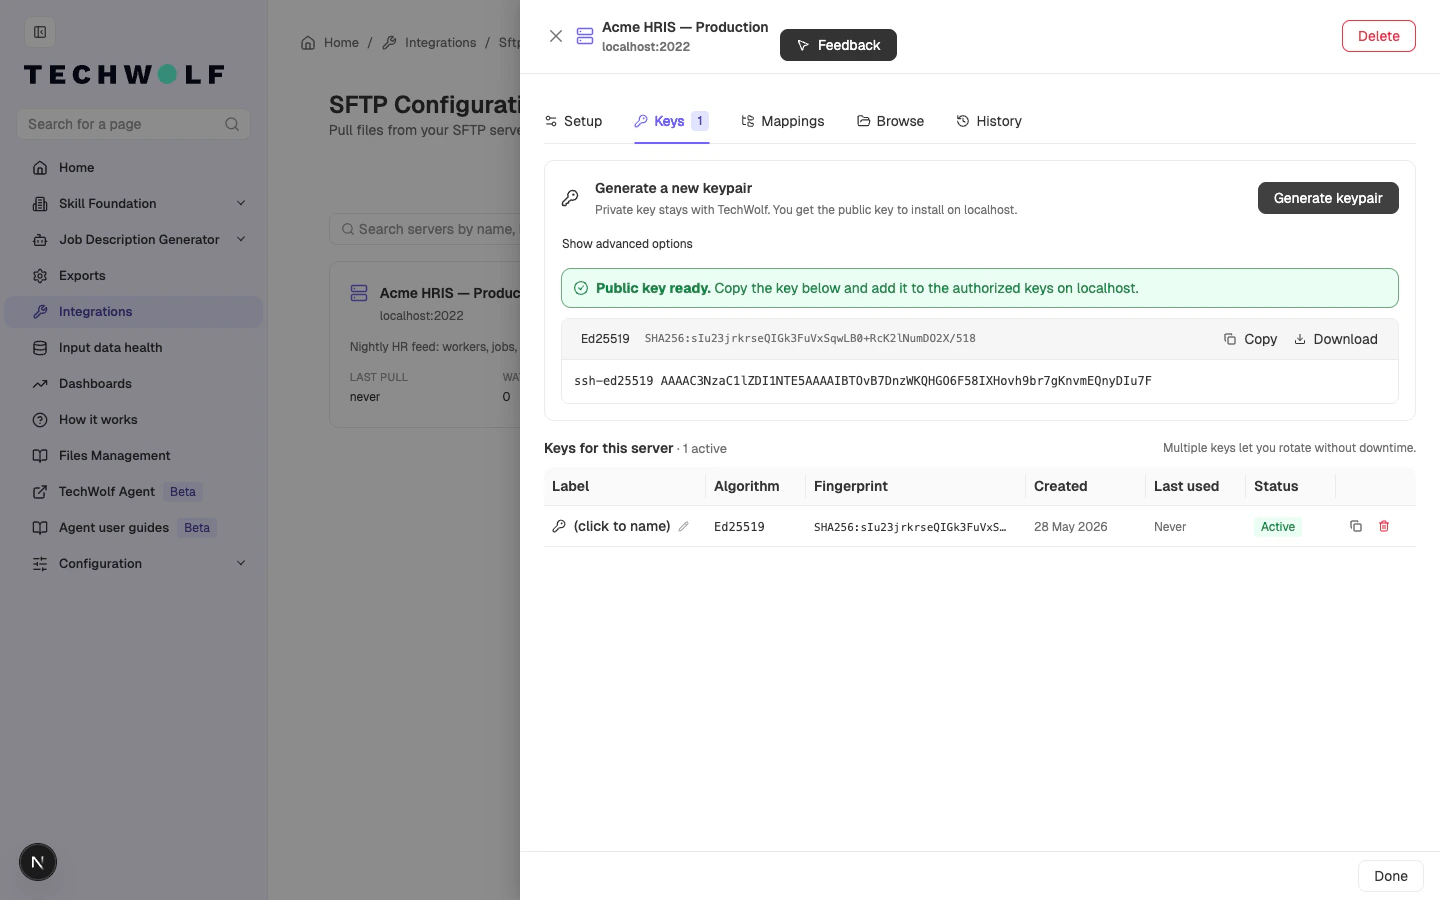
authorized_keys file of
the configured user on the SFTP server.Multiple active keys per server are supported, which enables
key rotation without downtime.For background on what is actually being exchanged on each
connection, see
How SFTP works: keys.7
Verify and pin the host key
Return to the Setup tab and click Test connection. On
success, the server’s SHA256 host-key fingerprint is captured and
locked automatically. Every later connection must match it.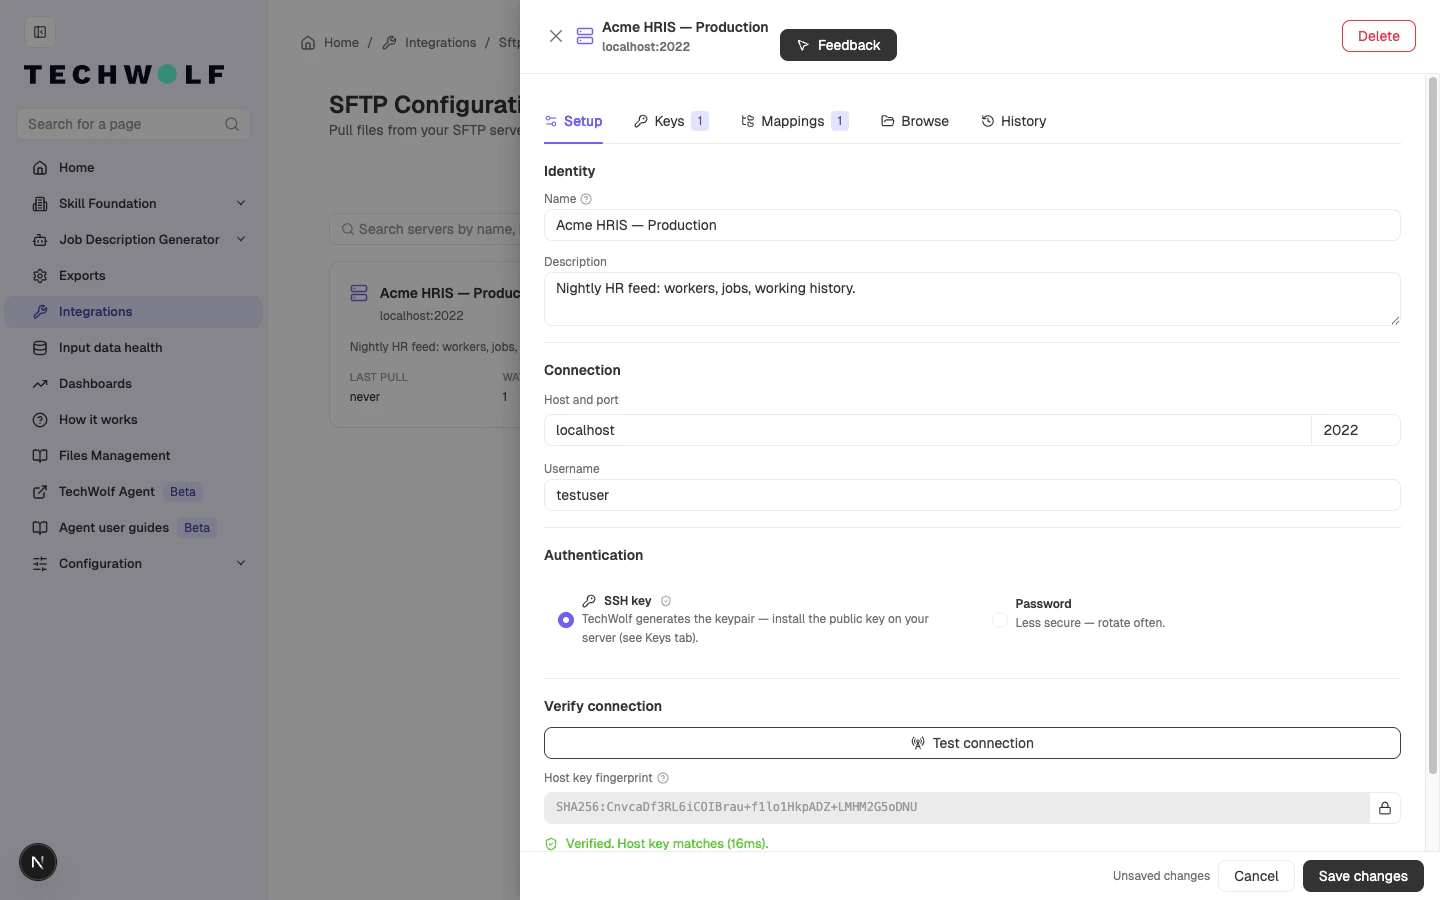
8
Configure folder mappings
Open the Mappings tab and click Add mapping.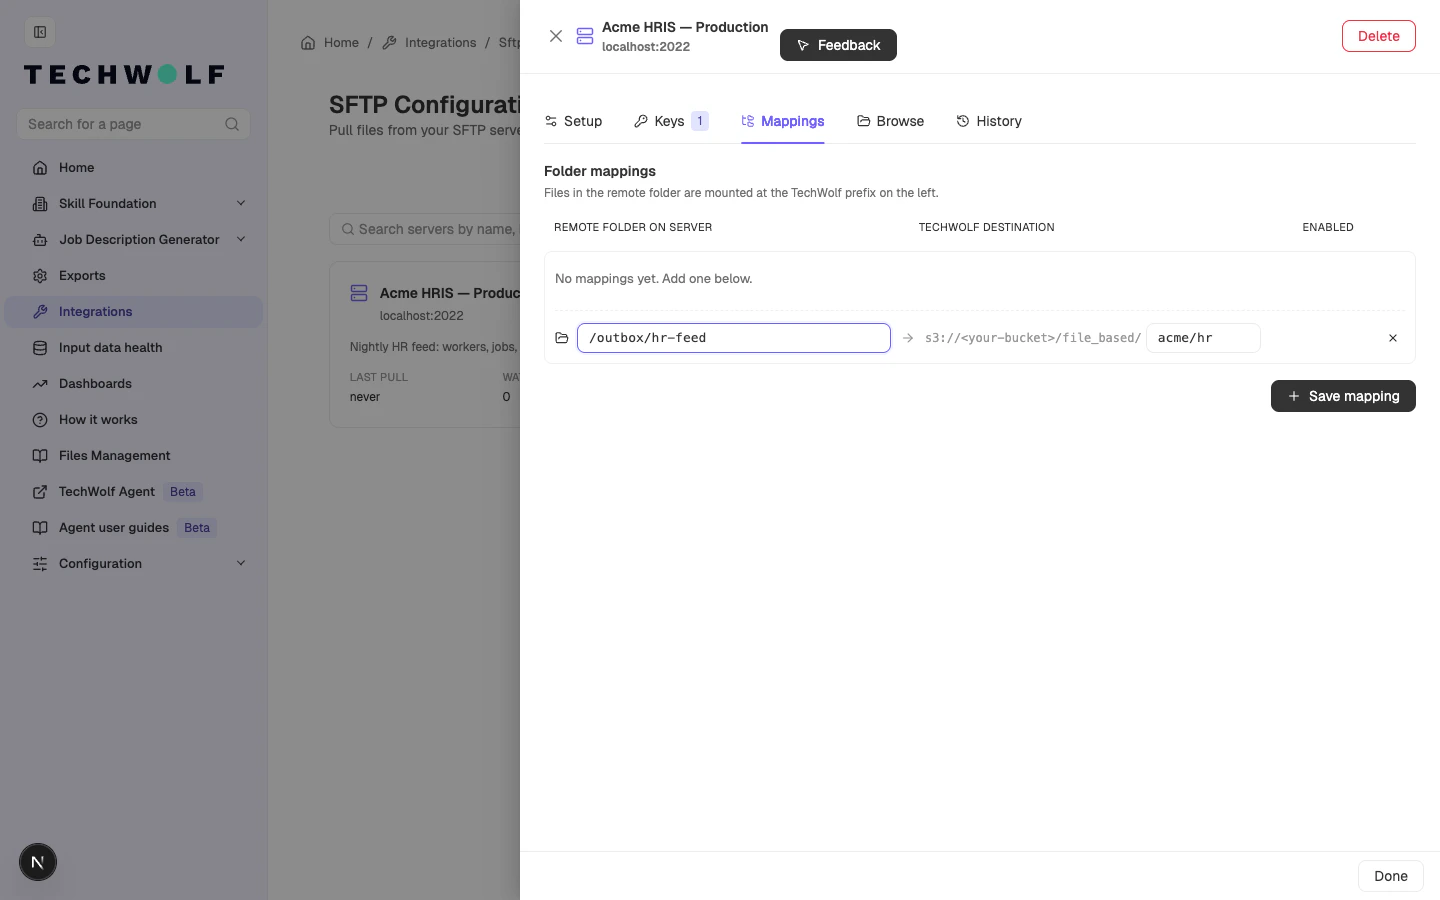
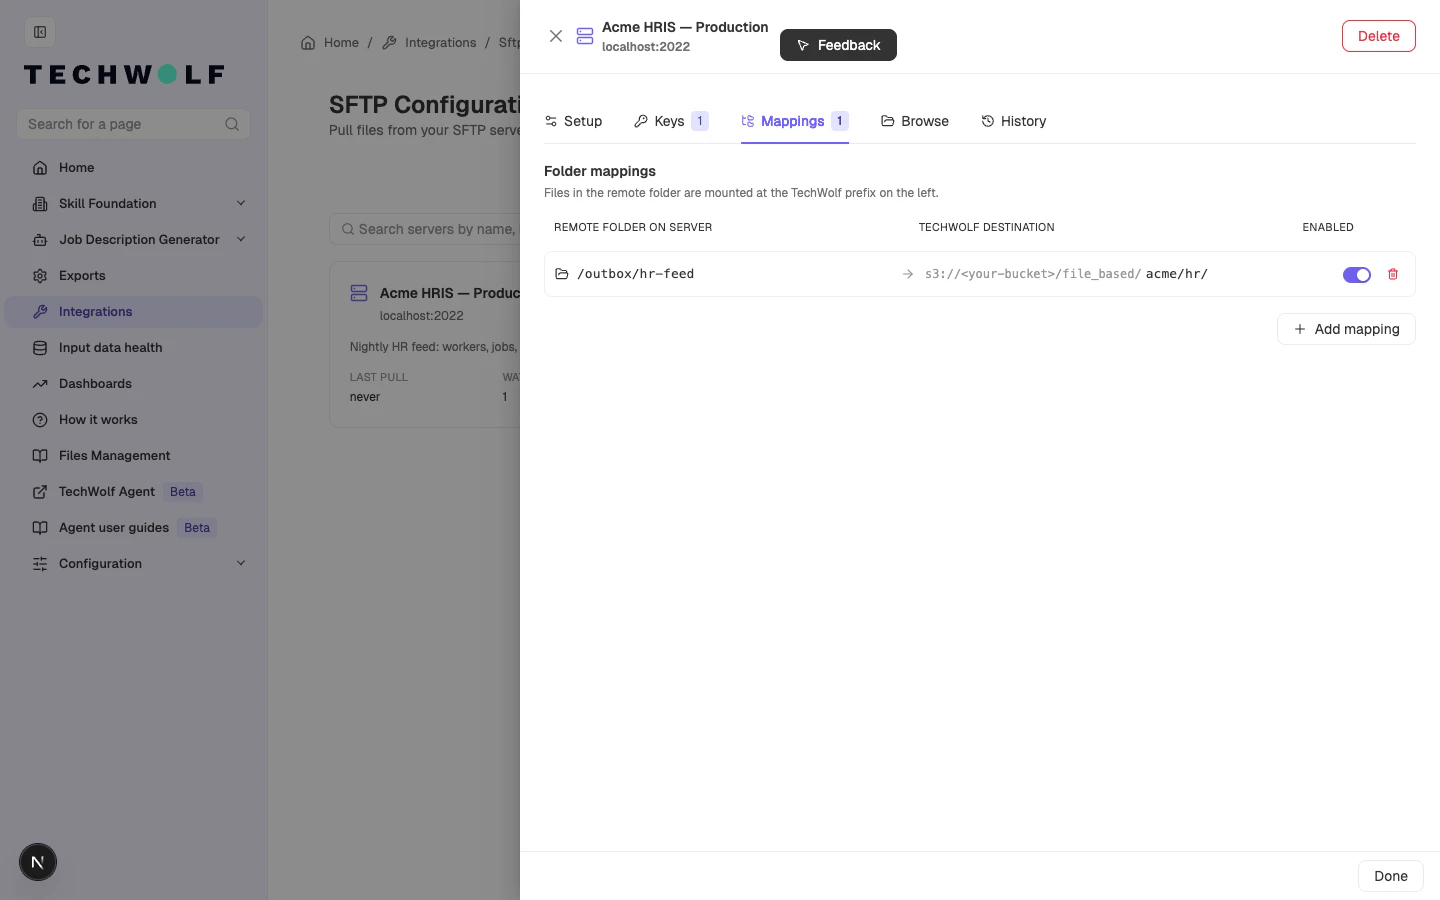
- Remote folder on server: the absolute path on the SFTP server,
for example
/outbox/hr-feed. - TechWolf destination: the subpath under TechWolf’s file-based ingest prefix. File-based input integrations read from here.
9
Browse the server (optional)
The Browse tab opens a live, read-only view of the SFTP server
using the configured credentials. Useful for verifying a remote path
before adding a mapping. Browsing never marks files as pulled.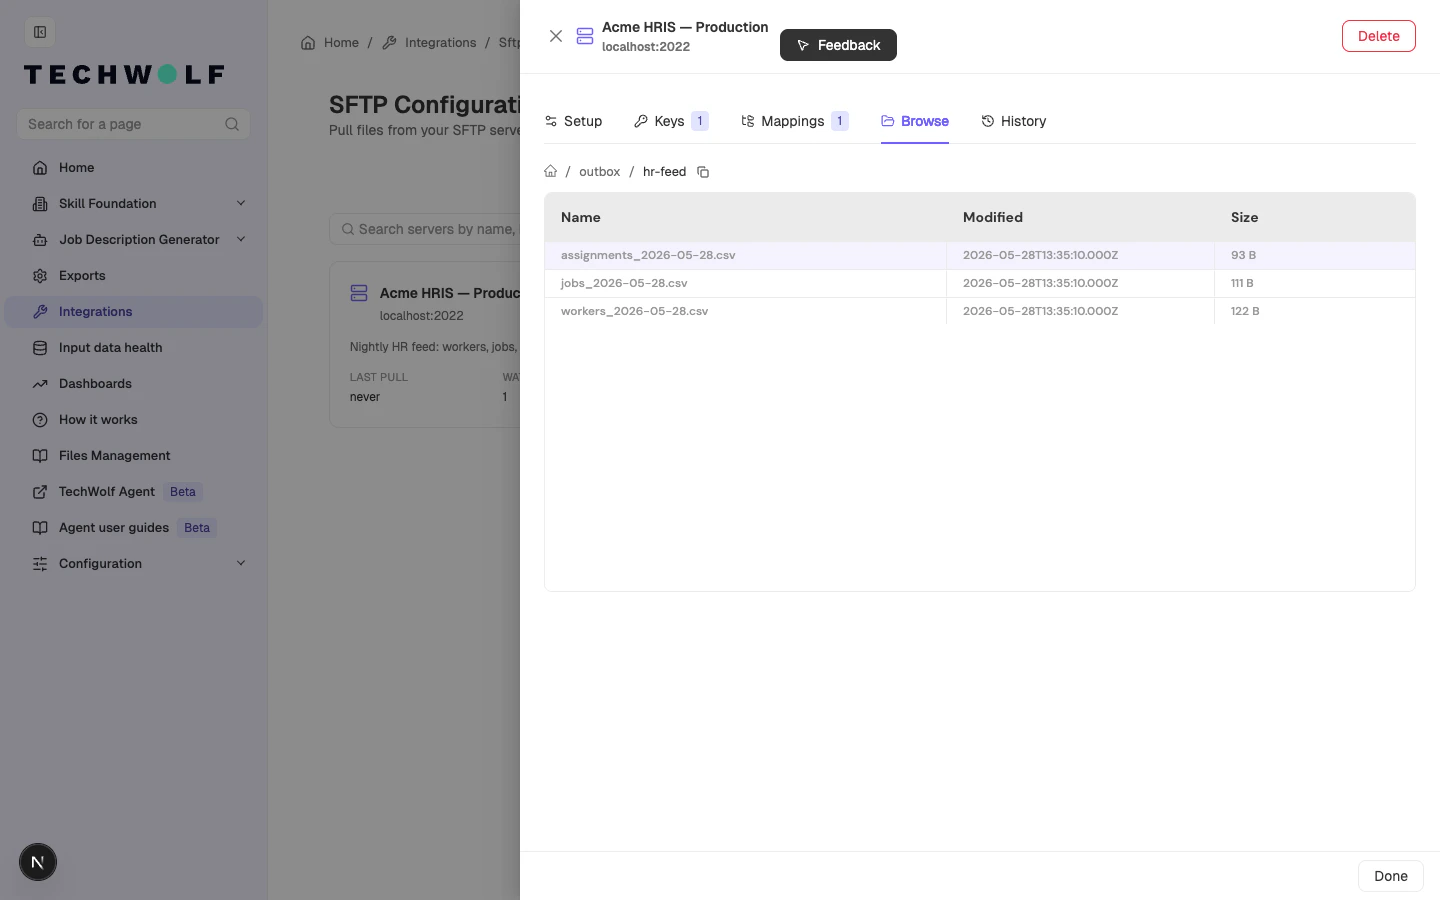
10
Confirm on the overview
Close the drawer. The card on the overview shows the last pull time,
the watched-paths count, and a health tag (Healthy, Idle, No keys,
or Disabled).